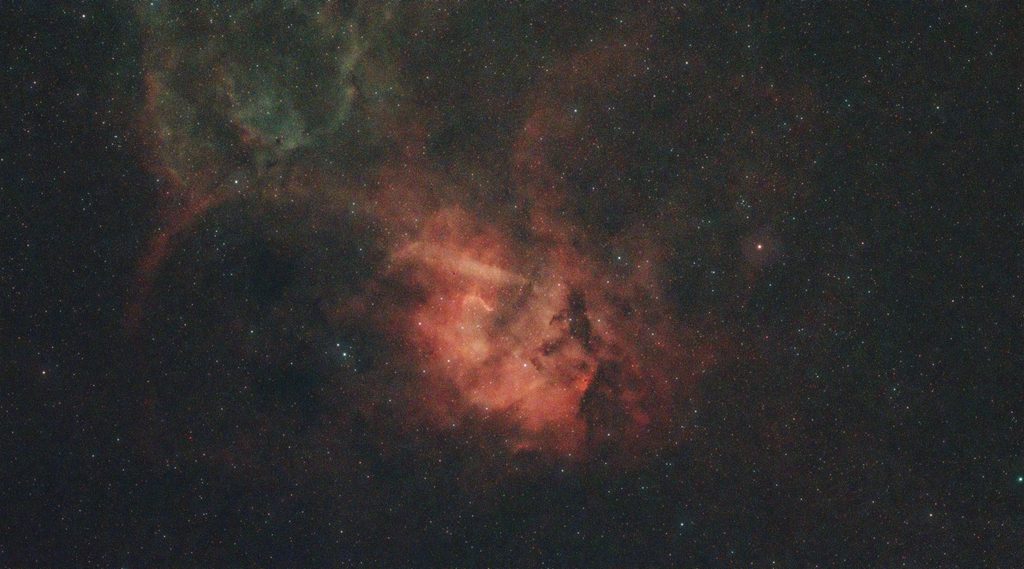
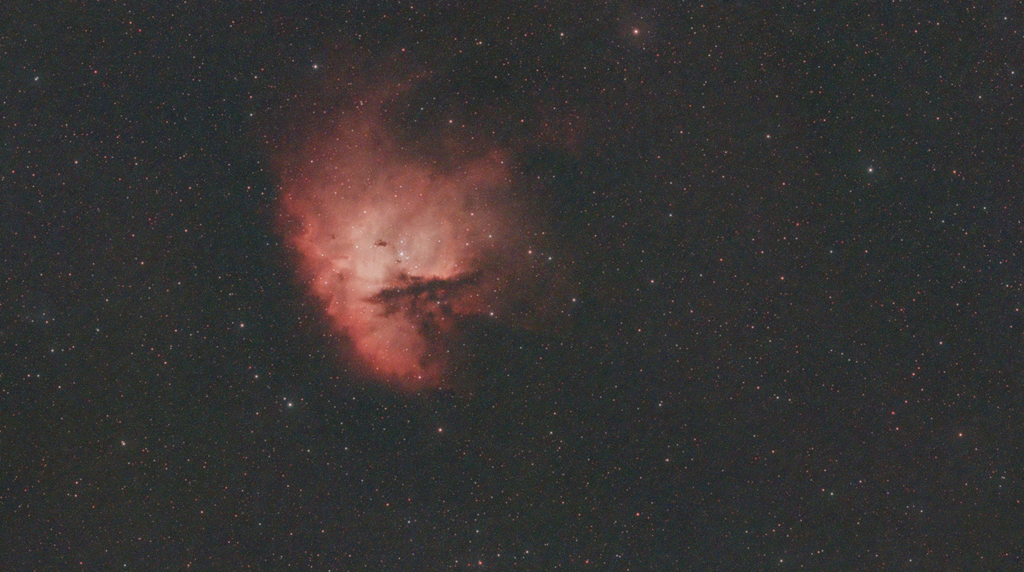
The weather recently has been absolutely abysmal for stargazing. And that, coupled with the fact I despise going to bed late, really is making me question whether I’ve picked the right hobby.
Regardless, I ended up buying some “entry-level” gear, and managed to come up my own set of images! Stitching everything together really hammered home that this is a two-part process – capturing and post-processing. It’s amazing what details software can bring out (or hide).
As expected, I ended up staying entirely within the ZWO ecosystem for the majority of my gear. When it’s all designed to work together so well it seems silly not to take the path of least resistance. Admittedly a lot of this inspiration for gear was taken from https://astrobackyard.com/deep-sky-astrophotography-kit/, who has an excellent guide on getting started with this sort of stuff. So go check it out for a much better explaination!
Anyway, here’s the list I settled on:
| Gear | What was the purchase? |
| Telescope | William Optics RedCat 61 – (specifically with WIFD, earlier models seemed to have other styles of focusers that were more annoying) Focal Length: 300mm Aperture: 61mm Focal Ratio: F4.9 |
| Camera | ZWO ASI585MC Pro – Apparently, to not end up with bad images, you need to match your camera (specifically the pixel size) to the focal length of your telescope (and also the average seeing conditions). Not good knowing that different objects need differnet setups though! |
| Tripod | The ZWO TC40 – pretty standard. Worth investing in to stop your setup from falling over. It’s quite light, shorter than you’d expect, but does the job well all the same. Size doesn’t matter here (as long as it clears the ground) |
| Mount | ZWO AM5 – I found this on a good deal secondhand, it’s a great mount and comes very well recommended. |
| Filters | As I’m in a heavily light polluted area, I went with an Optolong L-eNhance Narrowband filter to try and remove some of the ambient light pollution. Seems to be doing the job well. |
And some additional bits and bobs:
- ASI AIR Plus – The “controller” of the ZWO ecosystem. The app looks quite complicated at first but once you get used to it it’s fine. Didn’t bother with the upgraded memory version as it felt unnecessarily expensive when you can just insert an SD card.
- Jackery Explorer 500v2 – Popular brand with an LiFePO4 battery, essential for actually powering the system while you’re out. I think I may have overcompensated with the battery. In two hours of imaging it used 5%. You’d probably get away with a smaller capacity (around 300?). It’s also quite heavy so something portable may be a good idea.
- Osprey Transporter 120L – I wanted a duffel big enough to carry some of the heavier bits of kit on my back, and to act as a waterproof bottom when laying it down. Not tested this bag yet but it’s big enough to carry the mount, telescope and battery at least.
- Camping chair plus other things to keep you warm – Don’t underestimate these. It’s cold outside and being comfortable matters.
- Headtorch – You’re supposed to have a red light one but I didn’t bother with it. Needed for seeing where all the cables are going.
It’s not just buying gear that matters, there’s also work involved to figure out whether different bits and pieces are compatible with each other. For example, you need to check if your camera matches up with your telescope to avoid producing an image that’s either oversampled or undersampled. You do this by coming up with a resolution (in arcseconds per pixel) using a special formula:
Once you’ve got your resolution value, stick on a scale based on your expected seeing conditions to determine whether you’re more likely to be undersampling, oversampling, or in the golden zone.
Note: You need to understand that light does not get neatly put from a star onto your sensor in a perfectly straight line. It gets scattered in the atmosphere along the way by various things like gas, water, and dust. “Seeing” refers to how violently each photon of light gets thrown around on the way down. Better seeing means it gets thrown around less. Conversely, worse seeing means it gets thrown around more. Usually, the less wind in the sky, the better your seeing for that evening.
- An oversampled image looks blurry, because the light that’s landing on your camera is being spread across too many pixels, softening the details.
- An undersampled image looks blocky, because the light that’s landing on your camera sensor is not getting spread across enough pixels, making things look more like a square grid.
For my setup above – the camera I have has a pixel size of 2.9μm, and the telescope has a focal length of 300mm. This gives us:
and the seeing conditions appropriate for that are below: (from https://astronomy.tools/calculators/ccd_suitability)
| Conditions | Ideal Range |
| Excellent (Usually only found at higher altitudes or remote locations) | 0.17″ – 0.5″ |
| Good | 0.33″ – 1″ |
| OK (Average conditions for a normal night) | 0.67″ – 2″ |
| Poor | 1.33″ – 2.5″ |
| Very Poor (In windy valleys, or if you’re shooting on heat-retaining surfaces) | 1.67″ – 3″ |
So my resolution of ~2″ should be acceptable for OK seeing conditions and worse, but in the future further investment may be required.
It’s also a good idea to learn the different mounting styles and make sure when you’re buying kit that you’ll actually have somewhere to put it.
Anyway – enough of that… Here’s the final results for my first session. These were captured at 60 second exposures * 25 photos.